How To Put A Basketball Net On A Hoop?
To put a basketball net on a hoop, simply loop the net through the hooks on the rim. Basketball nets can easily be installed on hoops by looping the net through the hooks on the rim.
Whether you’re setting up a new hoop or replacing a worn-out net, this straightforward process can be completed in just a few simple steps. By following these instructions, you’ll have a properly installed net that enhances your basketball playing experience.
We will guide you through the steps to put a basketball net on a hoop. So let’s get started!

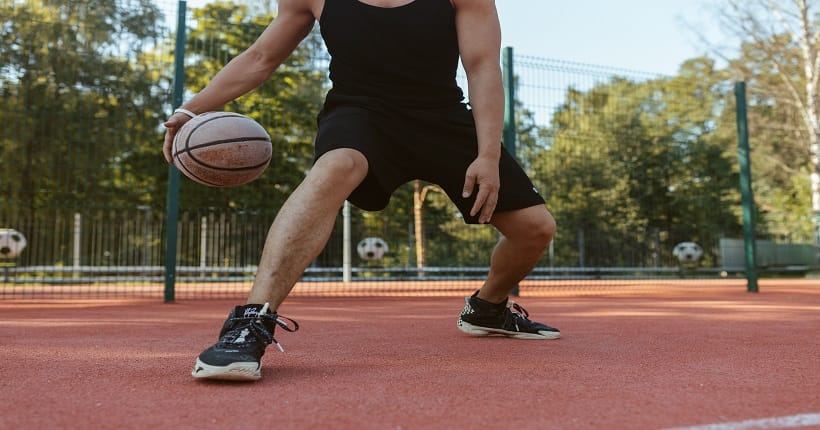
Credit: www.nytimes.com
Choosing The Right Basketball Net
Putting a basketball net on your hoop is a simple yet essential task that can greatly enhance your shooting experience. When it comes to choosing the right basketball net, there are a few key factors to consider. From determining the appropriate net material to considering durability and weather resistance, each decision can impact the performance and long-term usage of your net.
Determine The Appropriate Net Material
The material of the basketball net plays a crucial role in its performance and longevity. While most nets are typically made from nylon or polyester, each material has its own unique features and benefits. Nylon nets tend to be more durable and provide excellent responsiveness, making them a popular choice for outdoor use. On the other hand, polyester nets are known for their soft touch and smoothness on the ball, making them ideal for indoor play. Remember to choose a net material that aligns with your specific needs and preferences.
Consider The Durability And Weather Resistance
When selecting a basketball net, durability and weather resistance are key factors to bear in mind, especially if it will be used in an outdoor setting. Outdoor nets are exposed to various elements, such as rain, sun, and even extreme temperatures. To ensure the net’s longevity, opt for a net that is designed to withstand harsh weather conditions. Look for features such as UV protection and rust resistance to ensure your net can withstand the test of time.
Select The Right Net Size
Choosing the appropriate net size is also vital to ensure a satisfying experience during play. Basketball nets typically come in different sizes, including standard, intermediate, and junior. The standard size is suitable for regulation-sized hoops, while intermediate and junior nets are designed for smaller hoops or youth games. Be sure to measure your hoop’s diameter and select a net size accordingly to ensure a snug fit and optimal performance.
Choosing the right basketball net involves considering the material, durability, weather resistance, and size of the net. By taking these factors into account, you can select a net that aligns with your needs and enhances your overall basketball experience.
Preparing The Hoop For Installation
Putting a basketball net on a hoop might seem like a straightforward task, but taking the time to properly prepare the hoop is essential for ensuring a secure and long-lasting installation. Before you begin, it’s important to clean the hoop and inspect it for any damages or loose parts. By following these simple steps, you can make sure that your basketball net stays in place and ready for action.
Clean The Hoop
Before attaching the basketball net, it’s important to clean the hoop to remove any dirt, dust, or debris that may have accumulated on its surface. Cleaning the hoop not only enhances the overall appearance but also provides a cleaner surface for attaching the net securely. Follow these steps to clean the hoop:
- Gather a bucket of warm water and a mild detergent.
- Dip a soft cloth or sponge into the soapy water.
- Gently scrub the hoop from top to bottom, removing any dirt or stains.
- Rinse the hoop thoroughly with clean water to remove any soap residue.
- Allow the hoop to dry completely before proceeding with the installation.
Inspect The Hoop For Any Damages Or Loose Parts
Before proceeding with the installation, it’s crucial to inspect the hoop for any damages or loose parts that may compromise the safety and stability of the basketball net. By identifying potential issues beforehand, you can address them promptly and ensure a secure installation. Follow these steps to inspect the hoop:
- Visually inspect the entire hoop, paying close attention to the rim, backboard, and support structure.
- Check for any signs of rust, cracks, or dents on the hoop.
- Tighten any loose bolts, screws, or fasteners using the appropriate tools.
- Ensure that the hoop is securely attached to the mounting system or pole.
- If you notice any severe damages or structural issues, consider seeking professional assistance for repairs or replacement.
By cleaning the hoop and inspecting it for damages or loose parts, you can create a solid foundation for installing the basketball net. Taking these precautionary measures not only improves the overall aesthetics but also promotes the safety and durability of your hoop. Now that the hoop is prepared, it’s time to move on to the next step – attaching the basketball net.
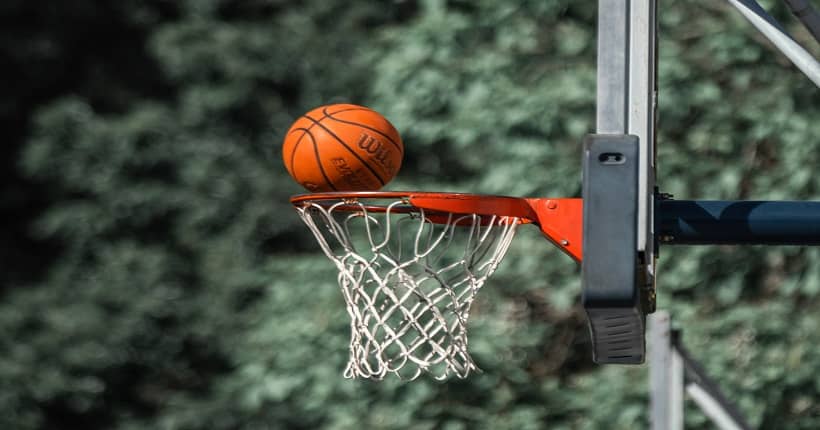
Installing The Basketball Net
Installing the basketball net is an essential step to complete your hoop setup. Once you have successfully attached the rim to your basketball system, the next crucial task is to secure the net in place. Properly installing the basketball net ensures a satisfying gameplay experience as it prevents any interruptions or distractions caused by the net coming loose or falling off. In this section, we will guide you on how to attach the net to the rim, ensuring it is properly secured.
Attach The Net To The Rim
Attaching the net to the rim is a straightforward process. Follow these simple steps:
- Start by untangling the net, making sure all the loops are open and free to be attached to the rim.
- Take one of the loops from the net and connect it to a hook on the rim.
- Gently pull the loop until it is securely fastened around the hook. Repeat this process for all the remaining loops, ensuring each one is properly attached.
Ensure The Net Is Properly Secured
Once you have connected the net to the rim, it’s crucial to ensure that it is securely fastened. Follow these steps to guarantee that the net remains in place:
- Check each loop individually, making sure none of them are loose or disconnected.
- Give the net a slight tug to test its stability. If it feels secure and doesn’t easily come off the rim, you’ve successfully secured it.
- If you find any loose loops or if the net isn’t completely secure, readjust the connections by reattaching them to the hooks on the rim.
By following these steps and ensuring the net is properly secured, you can enjoy uninterrupted basketball sessions, confident that the net will stay in place throughout the game. Now that you have successfully attached and secured the basketball net, your hoop is ready for some intense play!
Frequently Asked Questions Of How To Put A Basketball Net On A Hoop?
How Do You Install A Basketball Net Without Hooks?
To install a basketball net without hooks, follow these steps: First, gather rope or zip ties. Next, thread the rope or zip ties through the bottom loops of the net and secure tightly to the rim. Finally, adjust the net to ensure it hangs evenly and enjoy playing basketball without hooks.
How Do You Secure A Portable Basketball Net?
To secure a portable basketball net, follow these steps: 1. Fill the base with sand or water for stability. 2. Place the net on a flat surface, away from obstacles. 3. Ensure the pole is securely attached to the base.
4. Adjust the height and tighten the screws or knobs. 5. Double-check all connections and test the net before use.
How Do You Set Up A Basketball Hoop?
To set up a basketball hoop, follow these steps: 1. Choose a suitable location. 2. Assemble the hoop according to the manufacturer’s instructions. 3. Dig a hole and install the base securely. 4. Attach the backboard and hoop to the pole.
5. Adjust the height and ensure stability.
How Do You Put A Net On A Little Tikes Basketball Hoop?
To put a net on a Little Tikes basketball hoop, follow these steps: 1. Attach the hooks on the net to the rim of the hoop. 2. Make sure the net is evenly spread around the rim. 3. Adjust the net by pulling it gently to ensure it is properly secured.
4. Test the net by shooting a few basketballs to ensure it stays in place.
How Do You Attach A Basketball Net To A Hoop?
To attach a basketball net to a hoop, simply loop the net’s loops through the hooks on the rim.
What Type Of Net Should I Use For My Hoop?
Choose a nylon net for outdoor hoops as it is more durable and able to withstand harsh weather conditions.
Conclusion
Putting a basketball net on a hoop is an essential task for all basketball players. By following these simple steps, you can easily secure a net to your hoop and enhance your shooting experience. Remember to choose a high-quality net that suits your preference and use the correct installation method.
Enjoy shooting hoops with your newly installed basketball net!